How to Use Microsoft Photo Editor?

You can make your photo better by the Photos application
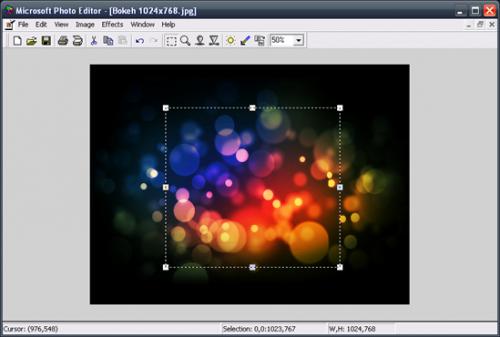
You might be aware of the Microsoft Photo Editor. It is present for Windows 10 users and it helps you in editing and making your picture look more attractive with the help of the rest of the tools.
This blog only accounts for Windows 10 users.
Adding photos to the Photos application
- Firstly, you need to connect the card or drive to the PC by USB port.
- Then, choose the Windows symbol in the taskbar.
- After that, choose Photos from the given different applications.
- Next, choose import. It can be found on the upper right-hand side of the Photos application.
- Then, choose a USB device.
- After that, the Photos application will scan the drive and show the pictures.
- Lastly, choose Import to begin importing the pictures.
Remember that each of the pictures shall be chosen by default. Luckily, you shall be able to press ‘Unselect all’ and select a single picture that you wish to have.
Tagging anyone in the MS Photos application
- Firstly, choose the People option.
- After that, choose ‘Accept.’ It will be located under ‘’Do you consent to enable these settings?’’
- Next, choose Start tagging for giving the Photos application access to the contacts.
- Then, choose Yes to give confirmation.
- After that, write the name of an individual or thing in the search bar.
- Next, press on a photo of anyone to search the rest of the pictures of that same individual.
Editing pictures and videos with Windows 10 Photo application
- Firstly, choose the Edit and Create pull-down menu. It will be present in the upper right-hand side corner.
- Then, choose Edit. It will be present in the Edit and Create pull-down menu for cropping the picture.
- Note that the editing section shall comprise of three options:
- Crop and Rotate
- Filters
- Adjustments
- When you choose an option, further options shall get displayed on the right-hand side of the screen.
- Choose an option for seeing it. Press on Save or Save a Copy for making the modifications.
- Then, choose the Draw. It will be located in the Edit and Create pull-down menu. Note that the options present on the upper side of the display comprise a ballpoint pen, pencil, calligraphy pen, as well as eraser. Whenever you pick pen/pencil symbols, further options shall get displayed like colors as well as line sizes. As soon as you are done with selecting work, you will be able to draw and write on the picture. Choose Save for modifications.
Ashley Miller is a Mcafee product expert and has been working in the technology industry since 2002. As a technical expert, she has written technical blogs, manuals, white papers, and reviews for many websites such as mcafee.com/activate.
Source: https://mcafeecomactivate334980539.wordpress.com/2019/10/31/how-to-use-microsoft-photo-editor/
Post Your Ad Here
Comments