 Articles
How to ‘Turn Off’ Active History Permanently on Windows 10
by park jonas Web Designer Recently, Microsoft introduced their new feature which allows their users to continue connected with their chores athwart their PC’s. However, this latest feature is known by the name Windows Timeline. By using this Windows Timeline feature, users can be able to perform their tasks transversely with all the Windows 10 systems and also including iOS, Android devices too.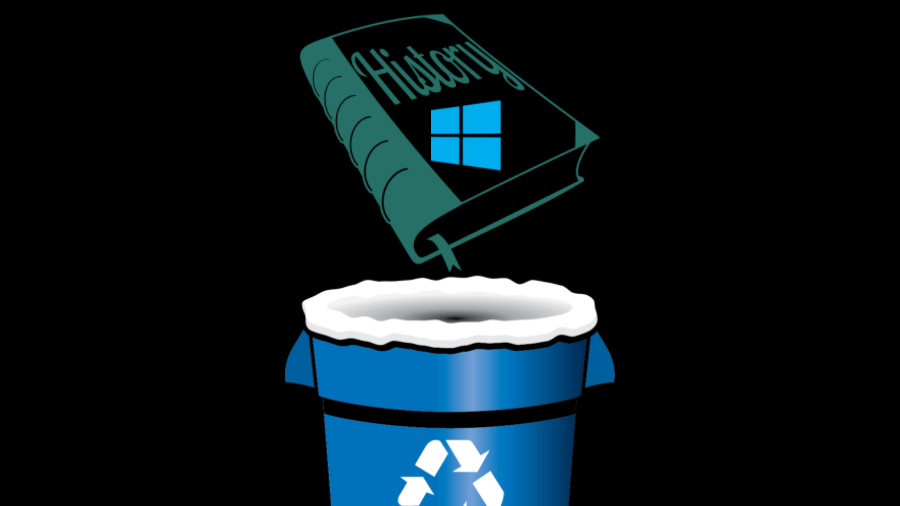
source: Windows 10
Nevertheless, Microsoft has distributed this feature in the Microsoft Edge and Microsoft Launcher on all Android devices, and to the Microsoft Edge on all the devices of iOS. Thus, to compose this feature to working mode then users have to send either basic or complete data and also the diagnostics of any machine to the Microsoft that will automatically sync it across all the devices by using the Microsoft Cloud feature. Though, all the data is stored on your Computer system or under the Microsoft account. It will make it easy for users to access the account. This whole process is called Activity History.
Below we mention best effective options for disabling the Active History permanently. The steps are illustrated below.
Steps to Disable Active History Permanently on Windows 10 PC
We recommend you to use the below given steps in the ascending order to avoid all unwanted trouble and damages and complete the steps without enciountering any error messages. Sometimes, if you clear the history manually will help you in disabling the feature, and if you have Windows 10 professional plan, you can use the registry keys just to disable the registry editor completely. Here how to do it:
Solution-1: Delete Frequent Folder History and Recent Items Manually
- To delete the frequent folder and recent items history manually, you need to use below given instruction:
- Click the Windows + R keys all together on the keyboard to launch the ‘Run’ search box.
- Enter the given command in the Run search box:
- %AppData%\Microsoft\Windows\Recent
- Next, click on the ‘Enter’ Key to continue the process.
- Now, choose all the items you want to clear from the list.
- After that, click on the ‘Delete’ tab to delete all the items from the given list.
Solution-2: ‘Turn Off’ the List of Recent Items
However, this recent items list is usually used by the Windows 10 users for disabling it. Here how to do it:
- Firstly, press the ‘Start’ icon to open the Start menu.
- In the Start menu, choose and click on the ‘Settings’ icon to open the settings section.
- After that, under the settings window, hit the ‘Personalization’ option.
- Then, press the ‘Start’ option located on the left side of the menu.
- Next, scroll down the list of settings window turns the slider “Show recently opened items in Jump Lists on Start or the taskbar” to the ‘Off’ position.
- Lastly, close all the windows and restart your computer system to save all the changes.
Sponsor Ads
Created on Jan 17th 2019 08:56. Viewed 350 times.

Comments
No comment, be the first to comment.
