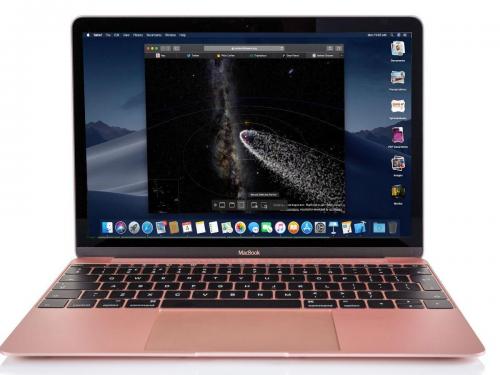
How to Record Windows and Mac Computer Screen?

You might sometimes want to record computer screen. There can be plenty of reasons behind it. Unfortunately, you don’t always get the feature of recording your PC or smartphone display. In this blog, we will go through the process of recording the computer screen.
The method of recording the screen in Windows 10 device
If you don’t wish to get new software for storage issues, then there is nothing to worry about. You can use the ones that you already have for recording your screen. There are plenty of applications that you have access to at present which can be used for recording the display of your device.
PowerPoint
- Firstly, go to PowerPoint.
- Then, press on Select Area for selecting a particular area of the display you wish to record. If you wish to record the complete screen, put the combination of Windows+ Shift+ F button on the keyboard.
- Next, press the Record option or else put the combination of Windows+Shift+R buttons on your keyboard.
- Lastly, note that you need to choose Pause for pausing the video whenever you wish, and Stop for ending it. In the same way, save for saving it.
YouTube Live Streaming
- Firstly, log into the ID as you generally do from Google’s Chrome browser. Press on the symbol of account and choose YouTube Studio (beta).
- Then, select Live Events other features.
- After that, select Enable live streaming if required.
- Next, choose New live event.
- Put the information that has been asked for it.
- Next, select Quick or else Custom for the kind of video you require.
- After you are fully ready to start, press Go Live Now.
- Then, choose the green Screen Share option. It shall be located towards the upper left-hand side.
- Next, choose to Stop streaming whenever you are done.
- Lastly, save the Event the way you want
The method of recording the screen in MacOS
QuickTime Player
- Firstly, go to QuickTime.
- Then, choose File.
- After that, press on New Screen Recordings.
- Next, for deciding whether the mouse clicks and sounds get displayed in the recording or not, press the small white arrow.
- Then, choose the perfect options from the pull-down menu. This menu makes you decide which camera to select if you have many cam options.
- Next, press the red record option.
- After that, you require to choose the items that you wish to record. For recording the complete display, press once wherever you want. For recording just a part, press and move. Then, press on Start Recording.
- After it is over, move to the menu and press the Stop recording option having the symbol of the square.
- For saving the recording, press on File and then Save.
- You also need to select the location and name for the recording.
Emily Johnson is a Norton product expert and has been working in the technology industry since 2002. As a technical expert, she has written technical blogs, manuals, white papers, and reviews for many websites such as norton.com/setup.
Source: http://sy-norton.com/how-to-record-windows-and-mac-computer-screen/


Comments