How to Create and Use Custom Signatures in Mail on Mac
by Sumit Sharma Digital Marketing SpecialistMac’s Mail app has not made it easy to create custom email signatures. The native signature editor includes a simplistic text box wherein you can enter characters and change their fonts and style. If you want to make your email signature attractive, then you can use the Mail app’s signature editor. In this blog, we will discuss the method of creating and using customized signature in Mac’s Mail app.

How to create an email signature?
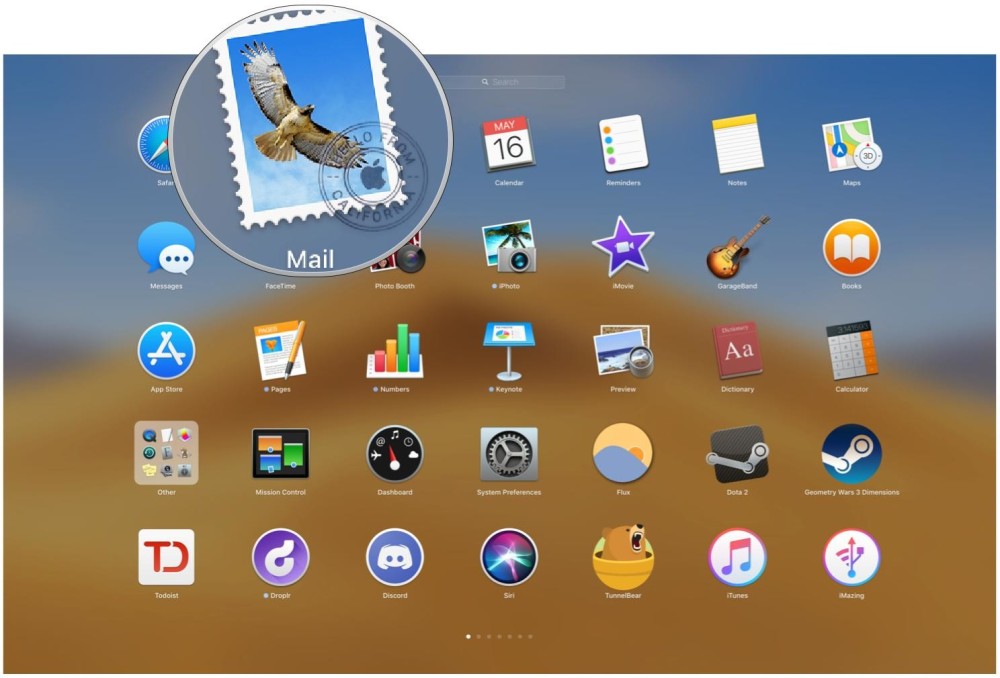
- First, you need to open the Mail application on your computer.
- After that, go to the Menu bar.
- Select the Mail option.
- Now, choose Preferences.
- Select the Signatures option at the top.
- From the left-hand pane, choose the email account for which you wish to create the signature.
- Hit the Plus icon located below the center column.
- Add a name for the email signature that is to be created.
- This name shall show up in the Signature context menu when you compose a message.
- Move to the preview area and start creating the email signature.
- To change the layout or font, move to the Format menu.
- To convert text into a link or to check the spellings, move to the Edit menu.
- You can just drag and drop pictures.
- You may opt for having the email signature match the default email font.
Steps for deleting an email signature
- Open the Mail app.
- Go to the Menu Bar.
- Click on Mail.
- Go to Preferences and click on Signature.
- In the left-hand column, choose the email account.
- Or else, click on All Signature.
- Select the signature that you wish to delete.
- Hit the minus icon located below the center column.
- In the confirmation prompt, click on OK.
How to assign an auto signature for emails?
- Open the Mail application on your Mac.
- After that, go to the Menu bar.
- Select the Mail option.
- Now, choose Preferences.
- Click on Signatures.
- Choose your email account from the left-hand column.
- Open the Choose Signature pull-down.
- Choose the signature that you wish to use.
- You can also select Random or Sequential Order.
How to manually add email signatures?
- Open the Mail application.
- Go to the Compose option and click on it.
- Now, click on the Signature menu.
- Select the signature you want to add.
How to remove a signature from email?
- Click on Mail from the dock.
- Hit the Compose button.
- Move to the Signature menu.
- Click on None.
- Or else, choose the signature text and hit the Delete key.
Billy Mark is a Microsoft Office expert and has been working in the technical industry since 2002. As a technical expert, Billy has written technical blogs, manuals, white papers, and reviews for many websites such as office.com/setup.
Related Article
- Division 2: New In-Game Group Feature Coming Soon
- How to Use the Numbers App on Your Mac
- How to Create and Use Custom Signatures in Mail on Mac
- CafeLand: 6 Tips and Tricks to Become the Top Chef
- How to Change Netflix Profiles on Your Roku Device
- How to Delete Your Spotify Cache
Sponsor Ads
Created on May 23rd 2019 00:15. Viewed 165 times.


