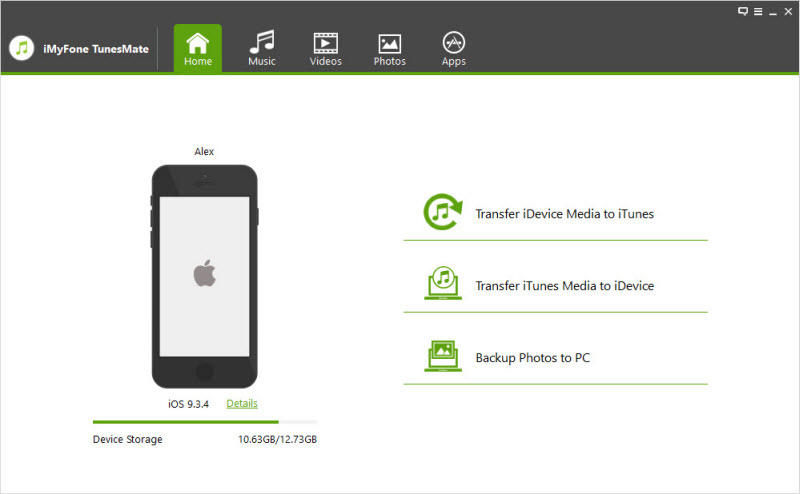
How to Connect iPhone or iPad to iTunes
iTunes is a media player, library, and management app by Apple. Connecting iOS devices to iTunes over Windows or Mac OS is very easy. Here we are providing you some steps to connect your device to iTunes.
To connect iPhones and iPads with iTunes by installing and updating the app.
- Install iTunes on your system or skip this step if you are using a Mac.
- Now launch iTunes on the Window tab or Music note icon if you are using a Mac. It lies at the lower part of the window. If you are a first time user, then follow the on-window instructions to proceed further.
- Update your iTunes. Your updates for iTunes will be kept in bundled form.
- Press on the Apple icon. Then tap on the “System Preferences” and select Software Update.
- In case you have Windows, and you have already installed iTunes. Then your update will perform automatically.
4.Now Log in to your iTunes account on your computer by these steps:
- Just tap on the account button on the upper part of the window.
- Now press “sign-in” option.
- Then provide your essential details like Apple ID or password. Tap on the Sign In button to proceed.
To connect the devices with iTunes by syncing to it
In order to smoothly sync your device, check out these points before linking your iPhone or iPad to the system:
- Tap on the Edit menu button present at the upper-left edge of the window and select “Preferences” followed by the “Devices” option.
- Eradicate all of the tick marks in the checkboxes frometc. to sync automatically, then click “OK” if you want that your device will automatically sync to the iTunes of the computer system.
- You have to use the USB cable that you got with your device. If it gets connected, you will see a button with device icon at the upper-left edge of your iTunes screen. This tab is known as the “Device” tab.
- Now tap on the Device button for the next operation. After tapping on this icon, a message may appear your system or device already synced through other iTunes catalog. In case you have touched on ” Erase and Sync,” all the data you are syncing will display with the data or content from this system.
- Enter the sort of content that you wish. To view the syncing options, select one of the options in the list that appears at the left side column under “Settings” tab.
- Near the upper portion of the title panel, you have to specify and choose your syncing options by marking the checkbox next to the “Sync.” Here you can specify your data or sections according to the category.
- Tap on the “Apply” button located at the lower side of the window.
- Press the “Apply” button if you have completed the editing.
- Press on the “Sync” button to sync all your specified data.
- Tap on “Done” button present at the lower right part of the window.
- If you don’t wish to use your USB wire for syncing your device to the iTunes next time, you have the option of syncing with Wi-Fi.
- Make sure that the device is connected correctly or not through a Wi-Fi link.
- If you aren’t viewing Wi-Fi network on your device, then tap on the Device tab in iTunes.
- Under the “Settings” option, tap on the summary option under the left pane.
- Now tick the checkbox following the “Sync over Wi-Fi” and then press on the “Apply” button to finish syncing.
Ryan Smith is a creative person who has been writing blogs and articles about cyber security. He writes about the latest updates regarding mcafee.com/activate and how it can improve the work experience of users. His articles have been published in many popular e-magazines, blogs and websites.
Post Your Ad Here

Comments