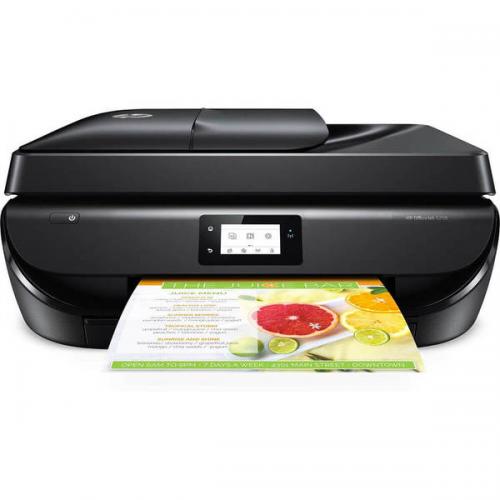
Complete HP Printer Setup and Installation Guide

If You have purchased an HP Inkjet printer and want to use it right now. First you have to install the printer and then HP printer software. Before you can print your photos and documents. Here we explain some simple steps to ready your printer & installation guide. The installation process takes approximately 30 minutes to ready your print job with your new HP printer.
Before you start installing your HP printer, your printer must be unpacked from its packing, and free of any protective material and then its fitting. And arrange A4 paper, computer or laptop, and confirm your printer box checklist, like Cartridges and printer cable, that comes with your new printer. Now follows below guide-
Unpack your HP printer
- Unpack your HP printer and remove all plastic tape and protective material from the inside and outside of the new printer. confirm the check-list to be sure you don’t miss any material and fitting.
- Plug in the power cord to power the printer. Turn on the printer and choose the correct language and location on the screen.
- load some paper in a paper tray and one thing some models have to clamp the paper between 2 plastic sliders that you fit inside.
Note – Now the printer is on, but make sure that is not connected to your computer yet. In the installation process, when a message will ask to connect then connect cable to the printer.
Step 1 (Install the cartridges)
Insert cartridges-
Installing the cartridges is easy, but it has to be done carefully. First, lift the cartridge cover of the printer. Use the cover handles on the side to lift it up. Remove or unpack the cartridges from the original packaging and install them, make sure you have the right color in the right slot. The color is specified on the top of the cartridge. Remove the (orange) tape from the cartridge and gently push the cartridge into the holder until you hear a lock click. Make sure that the label must face upwards. Close the cover after you inserted all the cartridges.
Step 2 (Choose a connection method)
i) Via USB Cable – Connect by USB Cable to communication between printer and system
ii) Connect to WiFi – Go to the WiFi icon on your printer and then Settings. Select the Wireless Installation Wizard and follow the printer screen instructions. Connecting your printer can take a little minute. You can also connect the printer to WiFi later in the installation process at downloaded software.
Step 3 (Download the software on your laptop or PC)
Before connecting your printer, first download proper software from HP site on your laptop or PC, go to 123.hp.com in your browser and enter the product name of your printer, Download the HP Smart application as per your system windows or download the basic desktop software. And can use the driver disk for the driver that comes with your printer.
Step 4 (Install and initialize the software)
Open and run the HP driver, you’ve just downloaded from your download folder or driver disk. Enter your personal details where as required. Setting up a printer using 123.hp.com/setup is simple Easy. Start will then ask you which software you want to install. Choose the option ‘Full software and drivers’ if you want later additional software to solve problems in addition to the basic driver. Select Basic drivers if you only want the driver and remember to connect your printer to the system while a message image will ask to connect to PC .
Now printers drivers are installed on your computer. This can take a while. If you haven’t connected the printer to WiFi, then look up your WiFi pass key code or connect a network cable. So, the computer will connect to your printer.
Step 5 (Start printing)
After all installation, your printer connects to WiFi and the installation is ready. You can start printing.
Shut down the printer
One is important to turn off the printer when you finish printing activity. Do this by pressing the on/off button on your printer. If you leave the printer on, in some other way the printhead won’t be protected. Turn it off properly and the printer will keep the printhead in optimal condition. The print quality will not suffer.
Source: https://123hp-setup-com.us/blog/complete-hp-printer-setup-and-installation-guide/
Post Your Ad Here
Comments