DSLR that stands for Digital Single Lens Reflex happens to be
one of the most state of the art cameras of this generation that every aspiring
photographer wishes to acquire. The DSLR cameras let the photographers see the
exact image that is to be clicked. Hence, the photographers can easily get the
best result of their every click.
DSLR Photography is a lot much easier for professional
photographers but when it comes to beginners, the settings, functions and the
entire operations of a DSLR camera is very intimidating at first. The DSLR
cameras come with a number of dials, buttons and a very thick manual. It is
very difficult to get hold of all the settings and features from the manual
itself.
Here are a few tips on improving your photography skills with
a DSLR camera without getting enrolled in photography courses -
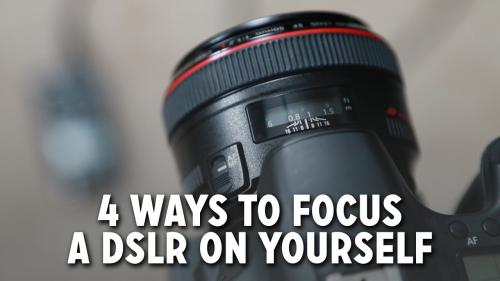
Dealing with the Focus – The subject of an image is
always to be focused no matter what shooting mode or ISO you are using. Without
a perfect focus, the quality of an image will be always affected. A DSLR camera
comes with various autofocus modes and among them two are the most important
-
AF-C – The Autofocus continuous is best used
for focusing on moving objects or motions such as a busy road or a sports
event. By half pressing the shutter, the focus locks itself on the given
subject and moves along with it till the photograph has been taken.
AF-S – The autofocus single mode is used for
shooting stationary objects like landscapes, portraits of people, buildings
etc. By half pressing the shutter, the focus locks itself on a given spot and
the photograph is taken after releasing it.
Adjusting the White Balance – The white balance plays an important role in leaving an impact on the
colour tone of the photographs. Having a better understanding of the white
balance settings can reduce the chances of orange or blue tones on the
photographs. There are a few colour balance settings such as cloudy, flash,
daylight, fluorescent, tungsten and shade.
Comprehending the ISO - ISO is the measure of sensitivity of the camera to the light. For
shooting in darker light, the ISO has to be set high in order to get a faster
shutter speed. Always select the ISO manually when shooting indoors or in
darker light because the auto mode always keeps the ISO as lower as possible.
Figuring out the Exposure
Triangle – Most of us are not aware that the ISO,
aperture and shutter speed are different parts of exposure triangle. All these
three deal with the lights (requirement of light and amount of light that is
entering the camera). It is suggested that using an automatic ISO mode and a
semi-automatic shooting mode will always give better results.
These are a few easy
tips that will give a visible difference in the images that you take. But, for a thorough understanding and
learning professional techniques of photography, you must enroll in some photography
classes.

Comments